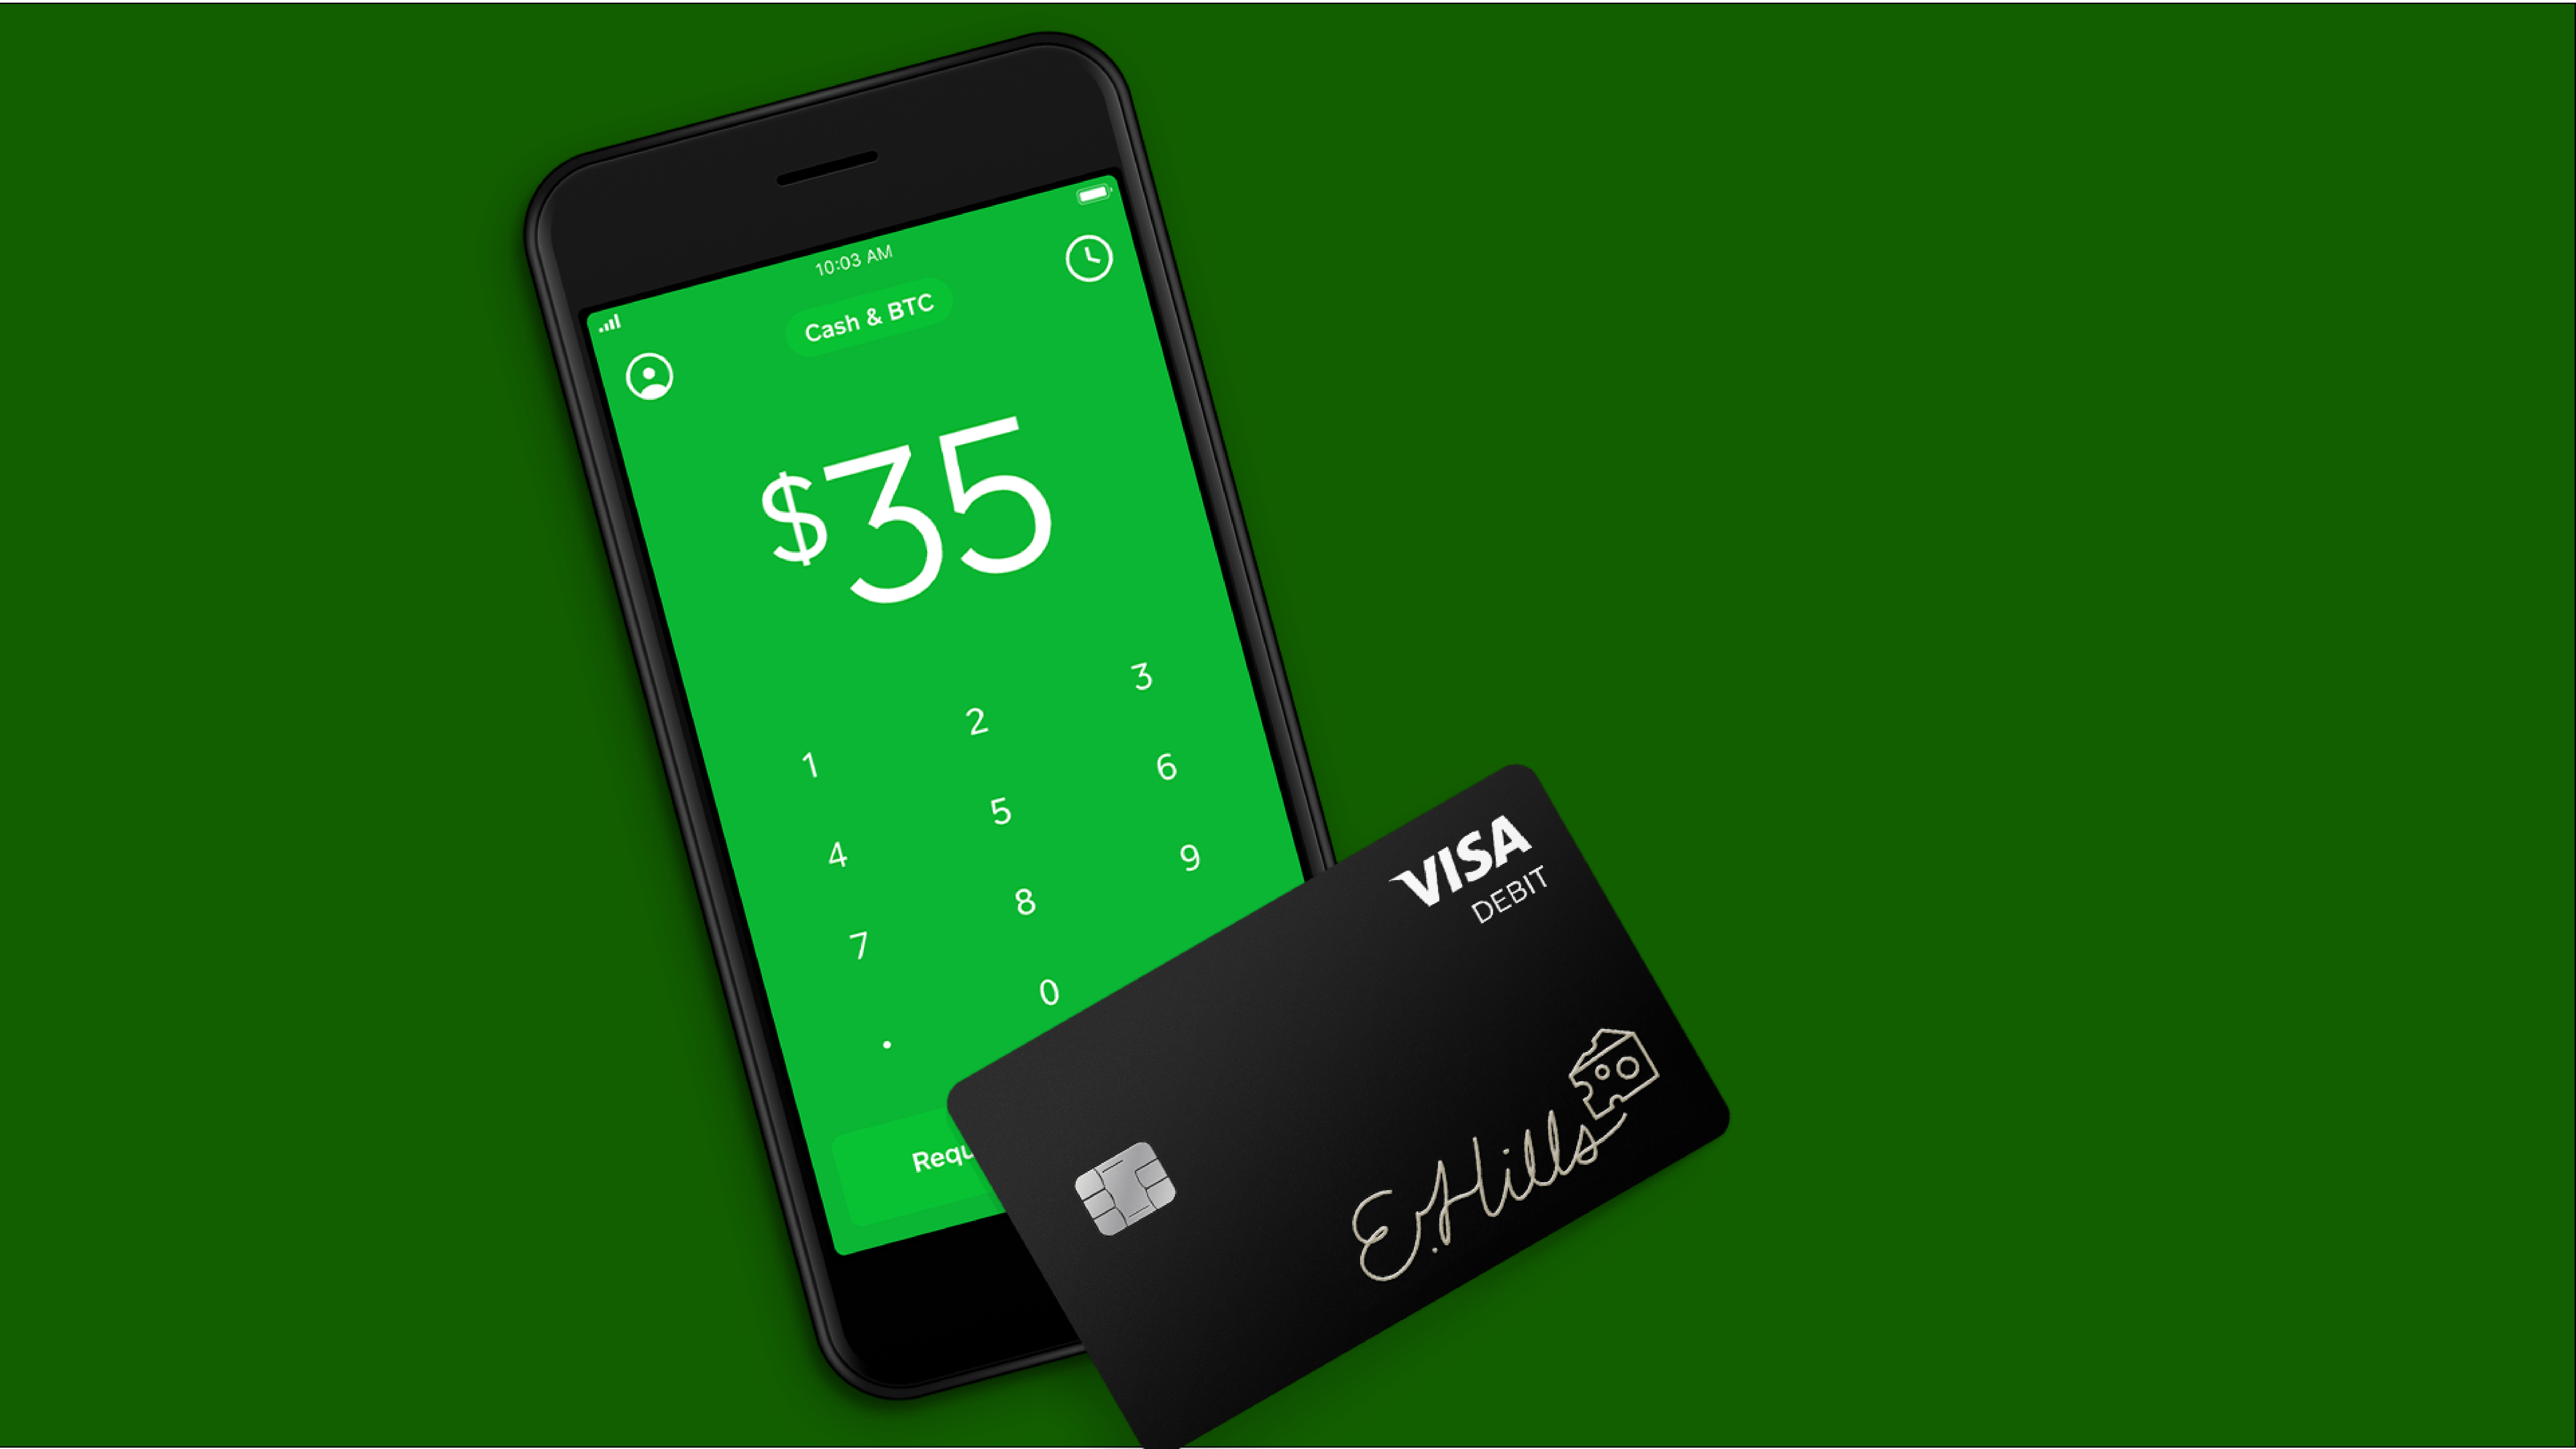
Cash App is another great way to get started investing in Bitcoin, especially since so many people already have the application. We’ve already covered their new feature of depositing Bitcoin to your Cash App account, but now we’ll talk about how you can withdraw it. This guide will show you exactly how to send Bitcoin from Cash App to any address you’d like.
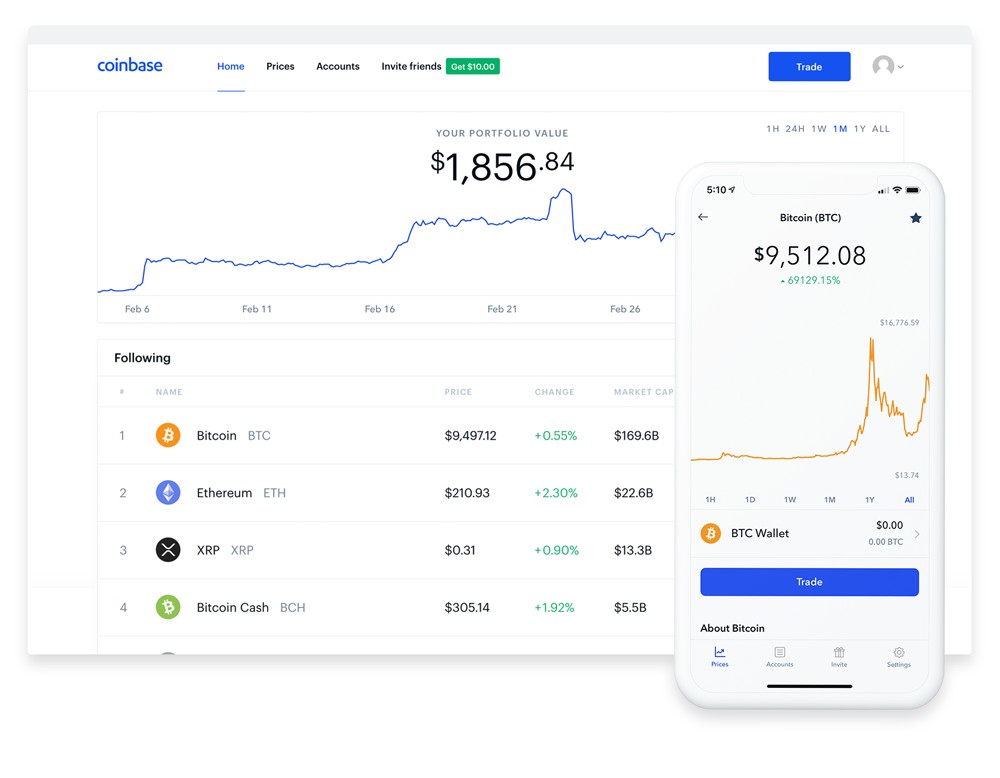
Coinbase is one of the most popular exchanges in the crypto space with over 30 million customers served. The website is a great place for new investors to start because of how well it follows U.S. regulations. This guide will get you ready to purchase Bitcoin on Coinbase in a matter of minutes.
One of the smartest ways to invest in cryptocurrency (or anything, for that matter) is to do something called dollar-cost averaging. You can learn more about what that means in our longer guide, but basically, you spread out your buys over a long period of time so that your dollar cost averages out to be a relatively small number over time — which thereby maximizes your gains.
Update 7/4/19: We’ve updated this guide with better information and updated screenshots to reflect the latest Coinbase.com user interface.
How to set up recurring cryptocurrency buys on Coinbase
Create a Coinbase account
Link a payment method
Initiate a recurring cryptocurrency buy
Monitor and manage your recurring buy
1. Create a Coinbase account
The first and most obvious step for setting up a recurring buy on Coinbase is to… have a Coinbase account in the first place. This is an easy process, but not as easy as signing up for just any online service. Since Coinbase deals with cryptocurrency and large amounts of money, you might be surprised to find out that you need to do verification steps just as you would if signing up for a bank account.
That said, the initial sign up process is pretty straightforward. Simply head to this page and type in your name, email, password, US state, and click the captcha. Click “Create Account”. You’ll then receive an email to confirm your new account. If you use my affiliate link, you’ll get a free $10 in Bitcoin when you buy or sell your first $100 worth of cryptocurrency.
2. Link a payment method
The first thing that Coinbase will walk you through when trying to make any kind of cryptocurrency buy is setting up a payment method. US users have a variety of options, and all of them have their own set of advantages and disadvantages.
Bank Account
Credit/Debit Card
Wire Transfer
Bank Accounts
Bank accounts have much higher limits and are best for anyone who is serious about buying and selling cryptocurrency regularly. They’re the one-stop solution to let you buy, sell, deposit, and withdraw the cryptocurrencies Coinbase supports. That said, they require verification (which can take a while with current high levels of traffic), and transactions through them take 4-5 days to go through on average.
Credit/Debit Cards
Credit/debit cards are super quick way to make buys, but that’s about it. They have a relatively lower limit than linked bank accounts, and they can’t be used to sell, withdraw, nor make cash deposits. The upside, of course, is that purchases and transactions are instant. There’s no waiting period for credit/debit card buys.
Wire Transfer
This is probably the least likely payment method you’ll use, and that’s for good reason. Wire Transfers will let you deposit and withdraw funds only.
Best payment method for recurring buys?
If you don’t want to wait for the bank verification process and you know that your recurring buy is going to be a small amount (less than $1,000 per week), the Credit/Debit card choice might be the best for you. Even choosing this fastest method, however, Coinbase is most likely going to require photo ID verification.
3. Initiate a recurring cryptocurrency buy
After you’ve successfully linked the payment method that you’re going to use for your recurring Bitcoin, Bitcoin Cash, Ethereum, or Litecoin buy, simply click the Trade button on Coinbase’s website and type in the amount you want to buy.
In the example above, I’ve chosen to buy Ethereum. I’m using a Visa credit card for my payment method (which has a $2,000 weekly card limit), and I’m going to buy $30 USD worth of Ether every week. At the current exchange rate (at time of this writing), that’s 0.0269… ETH. Obviously, that $30 buy will change in value every week — up or down, depending on the price of Ethereum at any given time.
The key here is that “Repeat this buy” drop-down. Make sure that is checked before you make your initial purchase, and be sure to choose the interval — Daily, Weekly, Every two weeks, or Monthly. Then simply click “Buy Ethereum Instantly”.
From there, you’ll be presented with a confirmation page which asks you to look over your purchase details and make sure everything is in good order. That’s it! Just confirm the transaction, and your Coinbase account will be credited with the given USD amount worth of the given cryptocurrency in the interval you choose. You’ll even be sent an email with the details every time an auto-buy is processed.
4. Monitor and manage your recurring buy
Finally, you can monitor and manage your recurring buys. To do this, just head over to the “Tools” section and click “Recurring Transactions”. Here, you’ll see the descriptions for the recurring buys you have set up and the interval in which those buys occur. In the case of the example above, the account is set up to buy $200 worth of BTC, ETH, and Chainlink at a variety of intervals.
This page also lets you do a few other things. You can click any of these transactions to be taken to a fully detailed page which shows every buy and the values at which those buys happened. That page also lets you pause a recurring transaction (temporarily suspend auto-buys), or cancel it permanently.
Finally, there’s an option to create a “New Recurring Transaction”. You can use this button to do much the same as described above, although this section of the site lets you postpone the beginning of your recurring buy to a specific date.
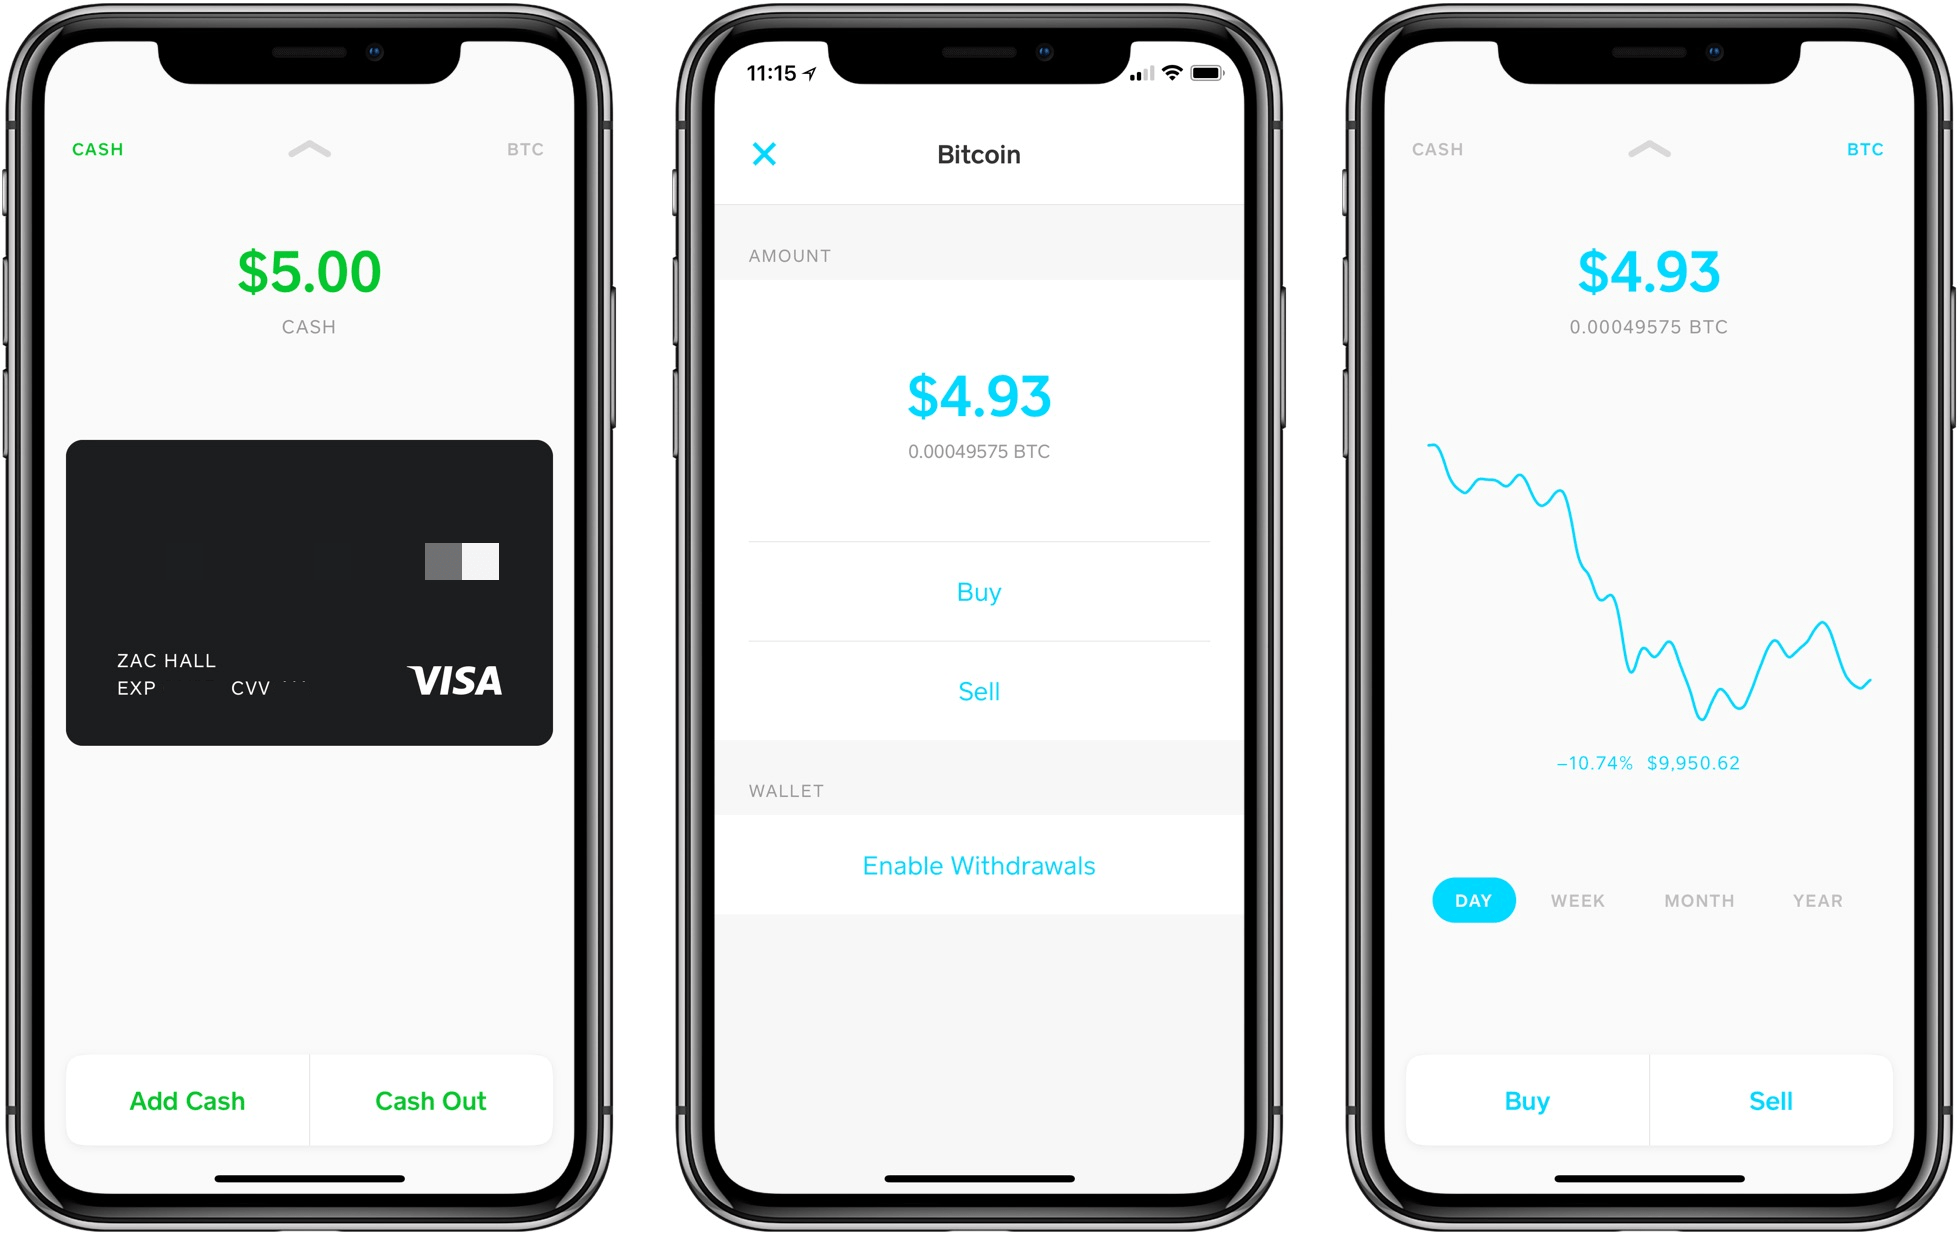
Payments company Square is launching Bitcoin deposits for its Cash App. Prior to yesterday, users could only buy, sell, or transfer cryptocurrency to another wallet. According to Cash App’s website, the company will soon be allowing deposits from third-party wallets as well.
Back in March, the Amazon-owned live streaming video platform Twitch.tv removed cryptocurrency from its subscription payment options. Now, just as silently as they removed it, Twitch has re-added Bitcoin and Bitcoin Cash back to their payment options.
This comes just three months after it was removed, as Coindesk reported at the time:
A Reddit user posted the news on Saturday, saying that, while Twitch had allowed users to pay in bitcoin (BTC) and bitcoin cash (BCH) through blockchain payments processor Bitpay, the option has been removed in the last couple of weeks “for all countries.”
Twitch accepts a wide variety of payment methods aside from crypto currency. These include gift cards, most major credit and debit cards, Apple Pay, Amazon Pay etc. as well as some more uncommon payment methods such as paysafecard, skinscash, and QBucks.